One of the most frequently asked questions and desired skills in handstands are “Consistency for holding longer time”. Yes, it is a great feeling to achieve this level for handstands.
Let’s have a closer look at it.
Let’s have a closer look at it.
For holding a handstand longer time we need some components.
In this article, I would like to introduce 2 drills for you to increase your endurance in holding a handstand. Make sure you warm up your body, especially the wrists, arms, and shoulders, and a bit of jumping jack for some hops and kick-ups.
In this article, I would like to introduce 2 drills for you to increase your endurance in holding a handstand. Make sure you warm up your body, especially the wrists, arms, and shoulders, and a bit of jumping jack for some hops and kick-ups.
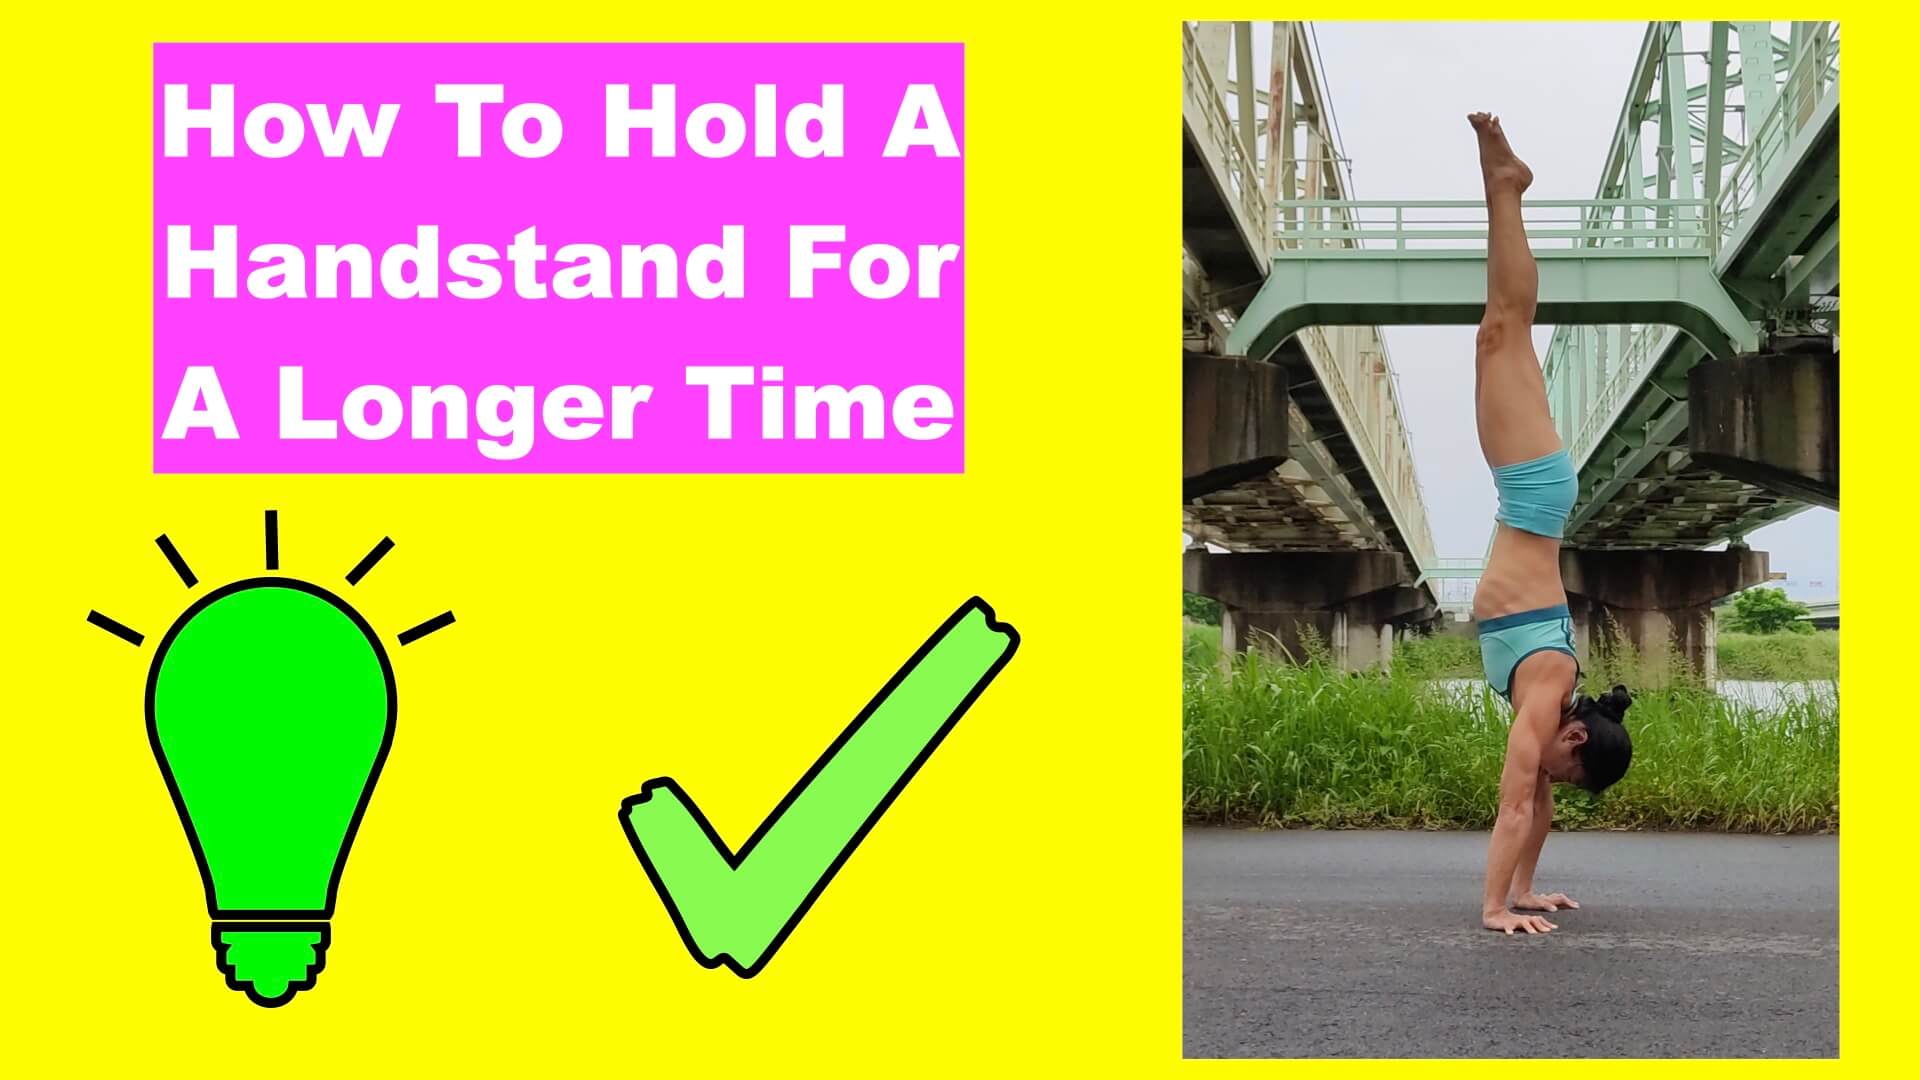
1. Alignment - Make your body as straight as possible like a stick
Straight alignment makes a handstand holding much more accessible, check your handstand shape and work on your problem.
2. Balance + Re-balancing skill
After you figured out the straight alignment it is all about fine-tuning with your hands to hold the balance and re-balance.
3. Strength for Endurance
Holding a minimum of 60 seconds without/with a wall is a good indicator to know your strength. If you cannot hold for at least 60 seconds handstand, add on the wrist, arm, and shoulder strengthening drills. I have a super effective all-in-one drill
4. Awareness/Focus of Entire Body Control
I know it is already a lot of work and the checklist is huge. On top of all of the above requirements, there is work to add which is "Awareness" and "Focus". Anyway it is always a good to know even you cannot figure out everything now what is necessary to achieve a good handstand skill.
Closing Thoughts for Today:
Make your handstand practice a daily habit. It doesn’t have to be a long session, but you practice handstands every day and possibly a couple of times per day. It is all about the practice. You don’t have to be talented or a superman. For your success find your weakness and work on it. There is no shortcut.
Perform these drills every day. It’s just 1-2 minutes of practice. You will soon be able to hold a handstand. Play around and see what happens. Just as I did through these practices, your body will learn the balance skill and strength most shortly. The best workout for handstands is always to go upside-down. In my opinion, there is no need to do workouts for each part of your body. Go upside-down as much as you can. That is the best and fastest way to achieve your goal.
I hope you will enjoy your handstand practice. Please let me know your progress in a comment below and see you in my next video.
Thanks for reading this article so far. I appreciate that. Happy handstanding! See you in my next article. My next blog post will be released on next Thursday.
Please feel free to comment with any questions or feedback below. I am happy to hear from you and will do my best to answer your feedback.
Please feel free to comment with any questions or feedback below. I am happy to hear from you and will do my best to answer your feedback.