“The Best Way for Learning Free-Standing Handstand as Beginners”
If you are trying to learn how to do a handstand as a beginner, you might have checked many tutorials and videos already which suggest you start from kick-up on the wall or handstand wall walk. The majority of handstand beginners start with kicking up to handstand. That’s why they need a wall and take a much longer time to learn a handstand. If you’d sort of madly kick up into a handstand hoping to find that perfect point then you are gonna become very inconsistent and not very good at handstand. I started straightforwardly practicing “The Press” to handstand from the beginning. In this article, I would like to explain why I don't recommend using a wall for handstands practice, especially at the beginning, and how you can get started as a beginner safely and effectively to achieve your handstand goal. If you want to speed up your progression, avoiding mistakes is a great idea.
Common Problems in Handstand Practice Using A Wall
"Relying too much on a wall creates common bad habits such as banana shape, inconstancy in finding a balance sweet spot, or collapsing body position for handstands"

Fact
When it comes to the handstand, it can be overwhelming to try and apply everything we’re supposed to do at the beginning.
Our brain can absorb only a few things at a time, therefore you need to prioritize when learning the handstand. You need to simplify what you should be focusing on when learning it. From that point of view, using a wall at the beginning is unnecessary because you don't need to go upside-down all at once. At the beginning of your handstand journey, you may not even be flexible enough, mobile enough, or strong enough to be able to perform all of them. Building up all the necessary elements your body needs step by step, then putting all the necessary pieces together later is the best and safe way to achieve your handstand goal.
Priority in Practicing Handstand as Beginners
How Should You Practice Handstand Successfully?
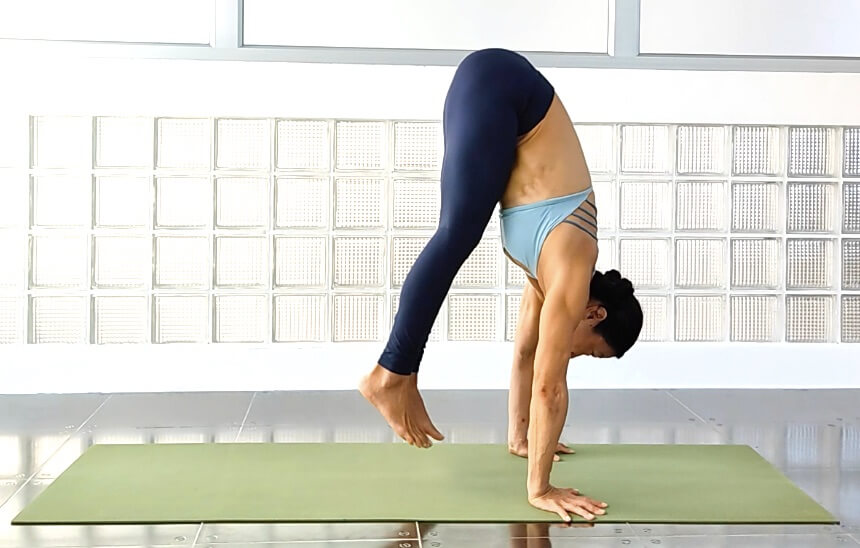
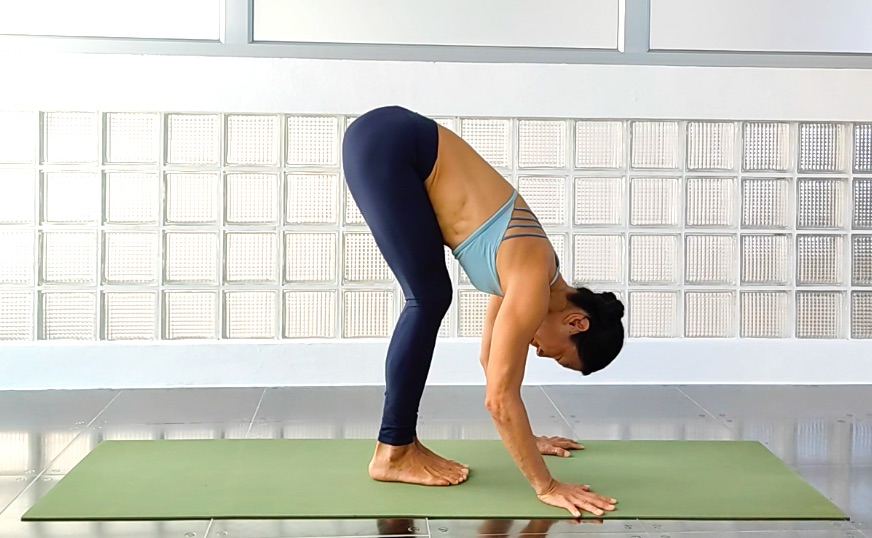
3 Super Basic Effective Drills for Handstand Beginners
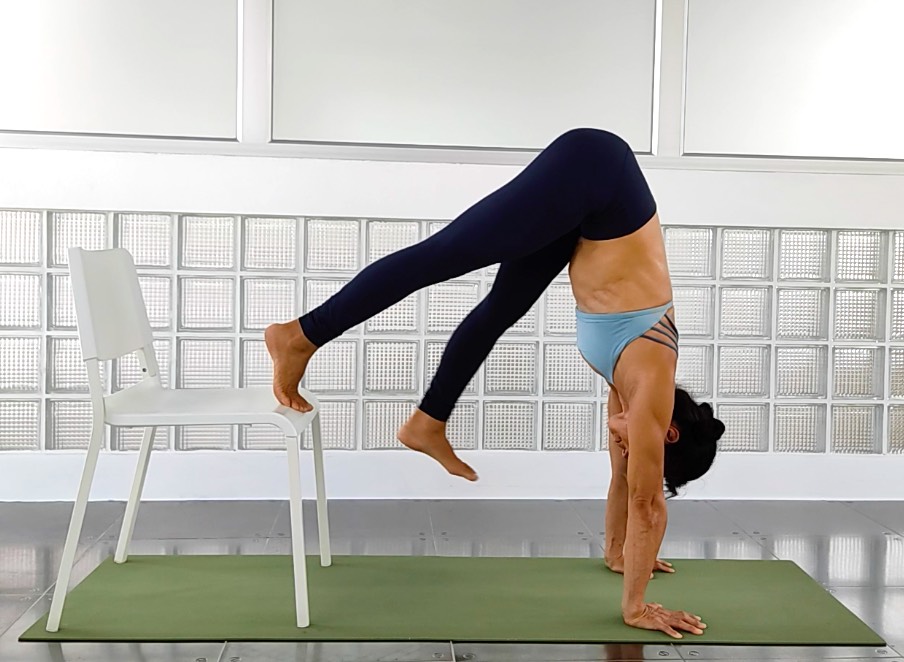
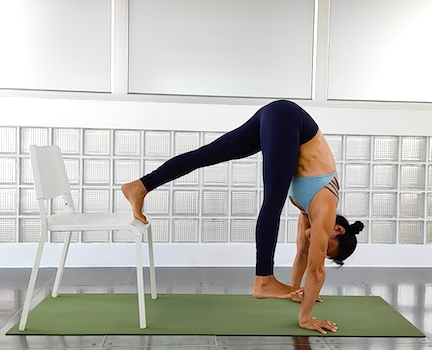
Targeting to practice the L-Shape on a chair is a great start to educating your body movement patterns and gaining muscle strength.
The key to handstand practice is moving slowly, feeling your body, feeling the balance, and feeling the sweet spot that works for you. Each body is individual and you need to find your happy position.
L-Stand Hold on Chair


Conclusion - How To Practice Handstand The Right Way
Learn “The Press” first. The foundation of handstands skill starts with your hands. Your fingers, arms, and shoulders are responsible for holding your weight in the upside-down position. For those practices, you don’t need to have fear to fail. You don’t need a wall at all. Through the basic drills above, you will build up not only your strength but also great awareness of motion patterns which muscles to activate, and how to enter in handstand position later as soon as you feel comfortable upside-down position.
- Build strength in your shoulders and core
- Gain flexibility in shoulders, hamstrings, and hip-flexors
- Learn scapula mobility
- Move slowly and gain positional awareness. The alignment is the key to handstand
Please feel free to comment with any questions or feedback below. I am happy to hear from you. Enjoy your handstand journey.
Thanks for reading this article so far. I appreciate that. My next blog post will be released on next Thursday


I don’t even know how I ended up here, but I thought this post was
great. I do not know who you are but definitely you are going
to a famous blogger if you aren’t already
😉 Cheers!!